Insert the Planyo plugin into your Wordpress website - display resource listing
The integration is done by inserting our dedicated Planyo plugin into a single webpage in your website. In this tutorial, the plugin will by default show the resource listing. The same plugin is also used to display all other steps of the booking process, and in the 2nd part of the tutorial we will add a search box widget -- the results of the search will be also displayed by this plugin.
 1
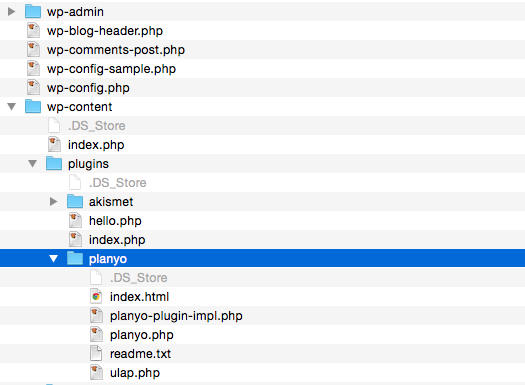
1 Download the WordPress plugin (available here). After downloading the plugin, unzip its contents into the wp-content/plugins/planyo directory inside the main WordPress directory.
 2
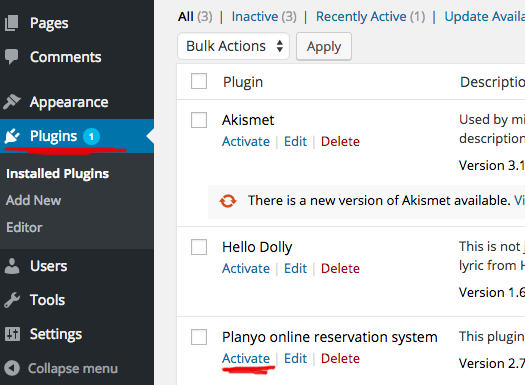
2 In the WordPress backend, choose Plugins from the left navigation and activate the Planyo plugin by clicking Activate inside the Planyo plugin row. If you don't see the planyo plugin here, then the files were not saved in the correct location.
 3
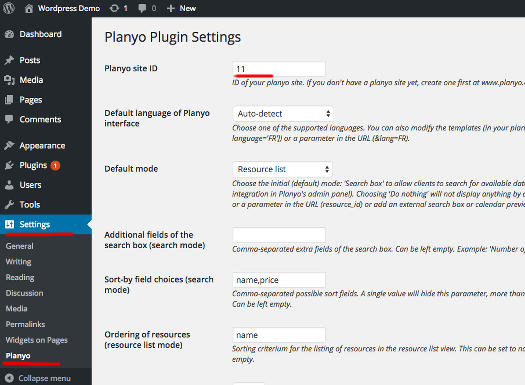
3 Now choose Settings, then Planyo. This will open the Planyo plugin settings window. Change Planyo site ID to your site's ID . See Q167 for the explanation of all other parameters.
 4
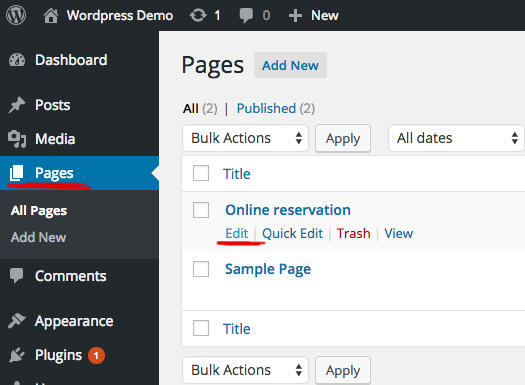
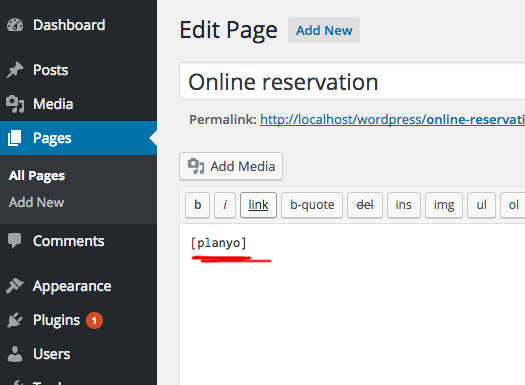
4 In Pages choose the page where you'd like to insert your resource list and then other Planyo contents. Click Edit to edit the page.
 5
5 Enter the [planyo] shortcode anywhere in the page body. This shortcode will show the Planyo contents. Don't forget to click Publish if the page is not yet published, or Update to save the changes.
This is all you need to do in order to have the entire booking process integrated into your website. You can now customize the booking process by editing the templates (see tutorial) and notification emails (see tutorial) in the Planyo backend.
The default mode displayed by the plugin (in this example, resource list, but could be also search or upcoming availability) is set in the plugin settings (step 3). It can be also set in plugin's attribute string, by a widget connected to the plugin (such as a small search box, google map, calendar preview etc. -- see below) or directly by URL parameters. If you want to embed the planyo plugin on many pages of your website (e.g. a search page, a page with a list of your resources, or on each resource details page) you can also set the display mode of the embedded planyo instance by adding an attribute string to the shortcode. The syntax is as follows:
[planyo attribute_string='attr_str'] where attr_str is the attribute string. Consult the FAQ question Q167 or go to our attribute string generator. Example:
[planyo attribute_string='mode=reserve&resource_id=123'] will display the reservation form for resource 123 (where 123 is a number representing a resource ID).
Add a search box (widget) to your Wordpress site
If you'd like, you can now add a search box widget to your website. Submitting the search box will display the search results on the page with the planyo plugin.
 1
1
Choose Integrate with my website from the blue menu on the left.
 2
2
Choose the widget Availability search box.
 3
3
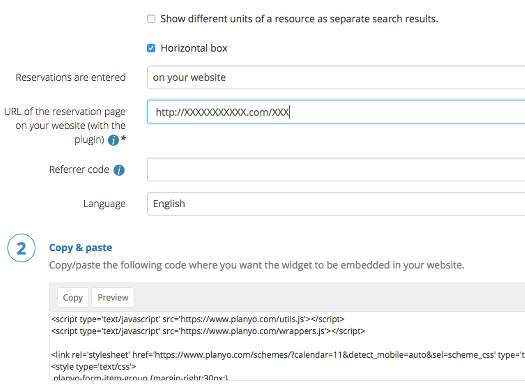
In URL of the reservation page on your website (with the plugin) enter the full URL of the page where you inserted the Planyo Plugin. Click on the button Copy in the Copy & Paste section to copy the code to the clipboard.
 4
4
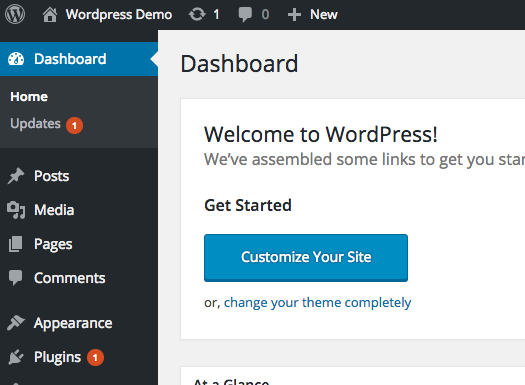
In your Wordpress Dashboard click the button Customize Your Site.
 5
5
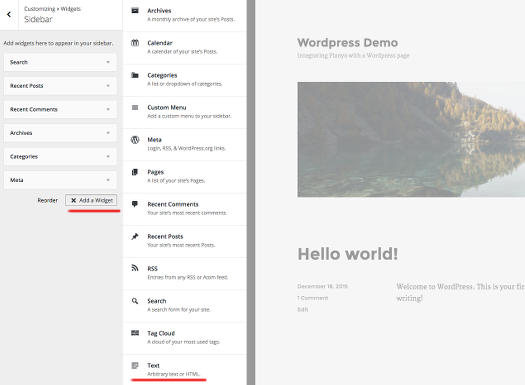
Choose Widgets / Sidebar / Add a Widget and choose the widget type Text.
 6
6
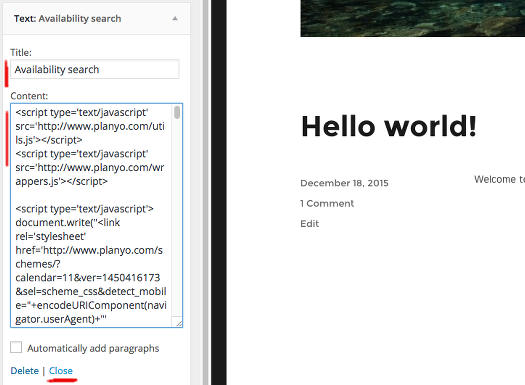
In Title enter e.g. Availability search and in the widget's Content paste the code you have in the clipboard. Then click Close. Click Save & Publish to save your changes. If you want to insert the widget into a specific page and not into the sidebar, please consult Wordpress documentation or use a plugin like this one.
Using Planyo together with WooCommerce
We also have a separate WordPress plugin which integrates Planyo with WooCommerce - click here for details and a step-by-step tutorial. Both plugins (our standard Wordpress plugin and the WooCommerce integration plugin) will be compatible and the products will be correctly added to the WooCommerce shopping cart, also when the Planyo widgets / UI are used throughout your Wordpress website.
Learn more about Planyo's features and integrations!
